
Recently, a client contacted us who wanted a complete bathroom renovation in Markham. ASASA Construction is a leading company in GTA with experience of over ten years. We provide the best construction, remodeling, and renovation services to clients. Our professional team consists of dedicated and committed individuals who have the required skill set and equipment to deliver the best possible service. The scope of our service is wide best suited to cater to all kinds of requirements from the client. Let us go through the process of the bathroom renovation in Markham step by step:
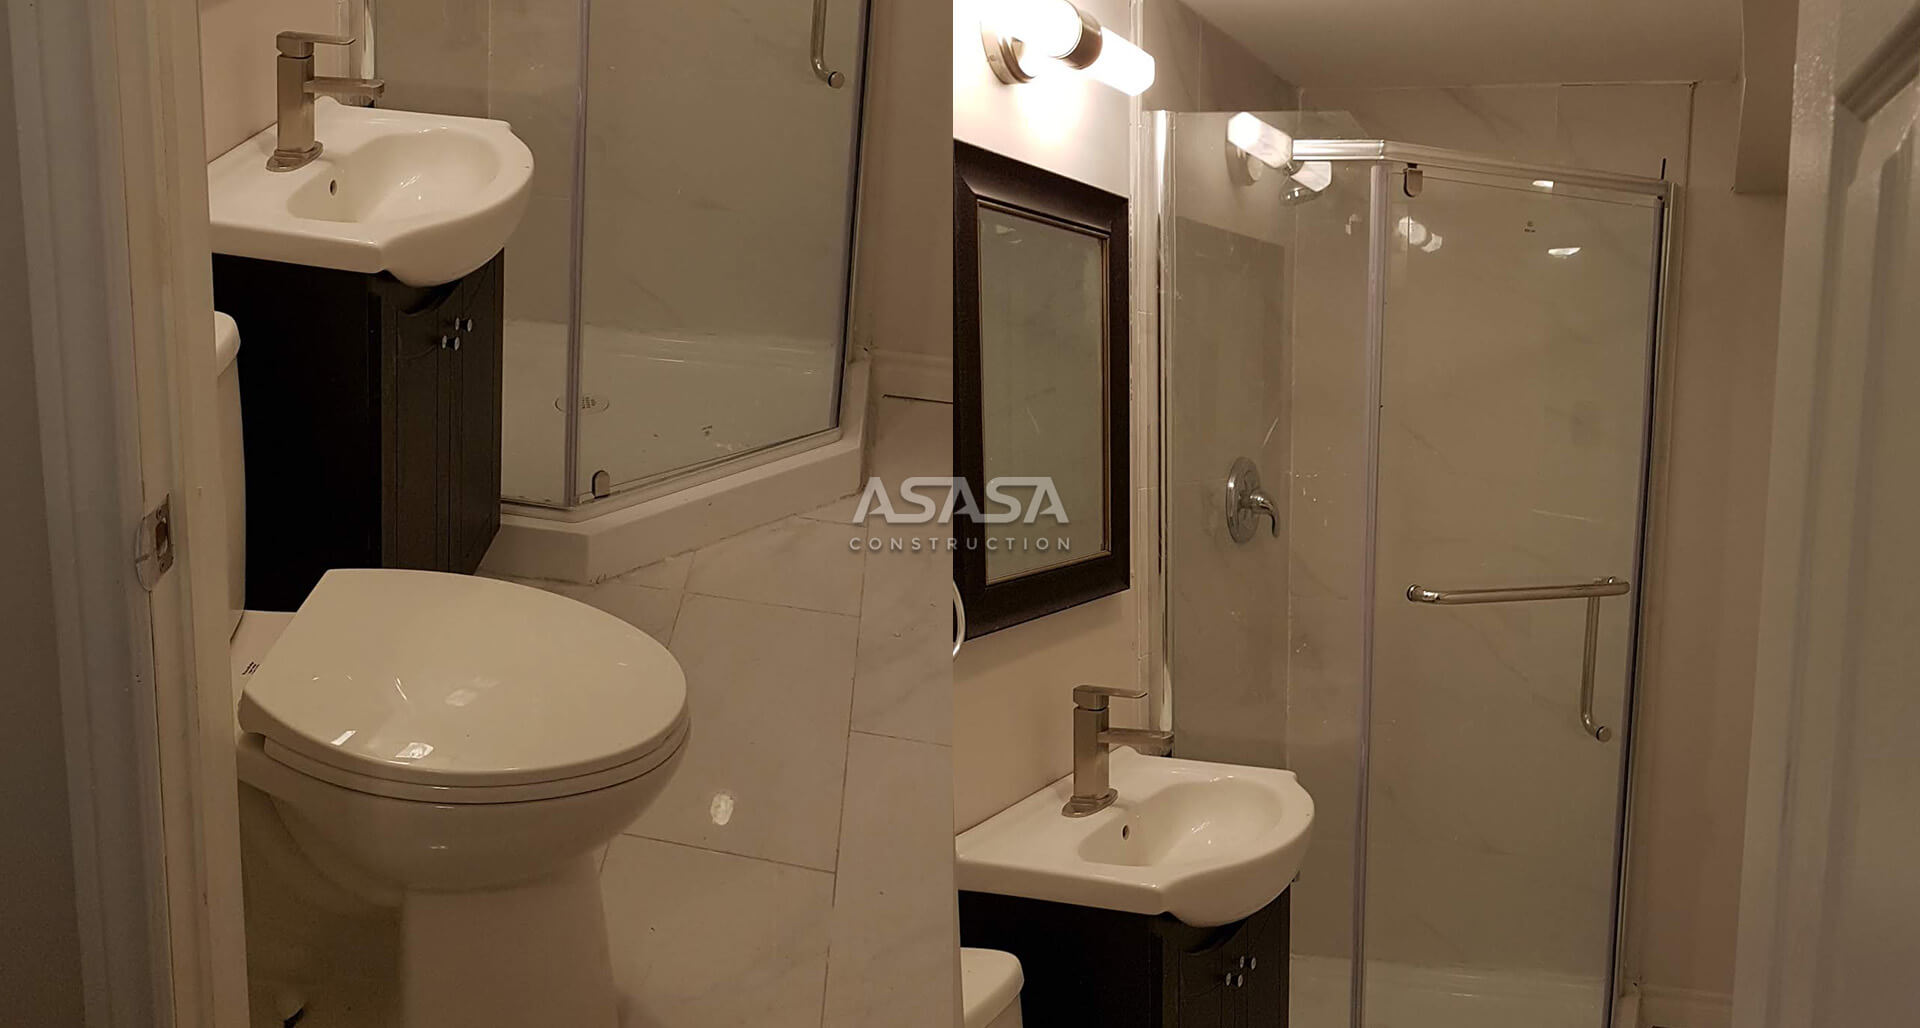
We are here to show you some of our best bathroom renovation projects. You can see our best bathroom renovation projects before and after pictures below.
Initially, our professional team visited the location to gather requirements and site surveys. We list down all the client's needs in detail to avoid any confusion and hassle in the middle of the project. Our professionals surveyed the site and examined all the possibilities and available options to fulfill requirements. We completed and saved all the site survey findings and presented them to the client to make him aware of the actual situation.
 Before
 After
After
After gathering all the requirements, we offered the client a FREE Consultation. We discussed every aspect of the project from budget to time. Our professionals gave the most appropriate suggestions to the client to fulfill all his requirements in the budget. We delivered a FREE Cost Estimation of the whole project containing all the details of the expenses required for the desired service. Our professionals also presented different ideas to cut down the project's costs. After concluding all the client's demands, we made a 3D Design model of the final product and presented it to the client. The client was pleased to look at the model as it made him visualize the last look of his bathroom after completion.
Before
 After
After
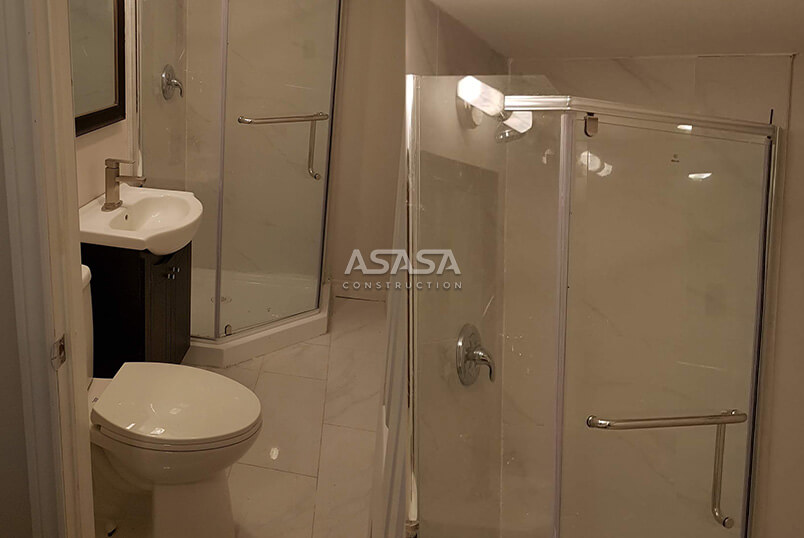
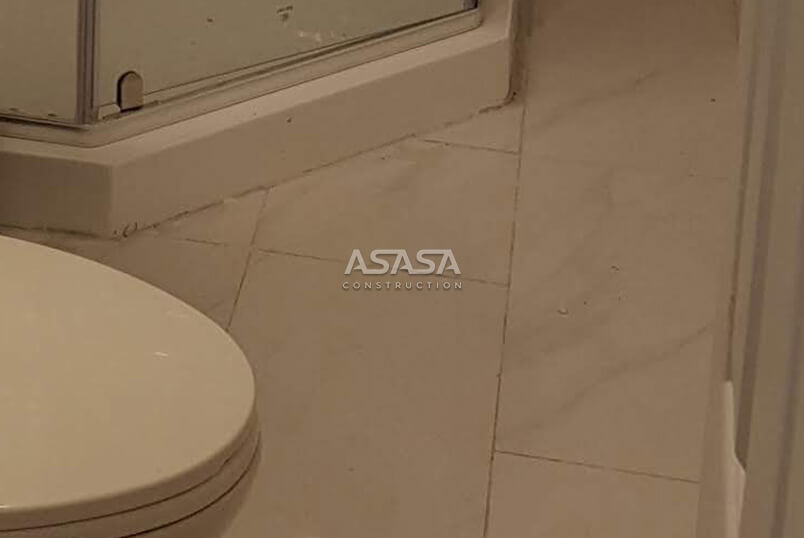
The client wanted to replace the tiles on the floor and bathroom walls. Our team presented a lot of samples matching the desired specifications. After the client had finalized one design, we arranged them and showed them for confirmation. Initially, our professionals examined the surface of the ground and the walls to check the leveling. After making certain adjustments, we started installing the tiles. We took special care during this process to ensure that the interlocking of the pieces is done right without any gaps in-between.
Before
 After
After
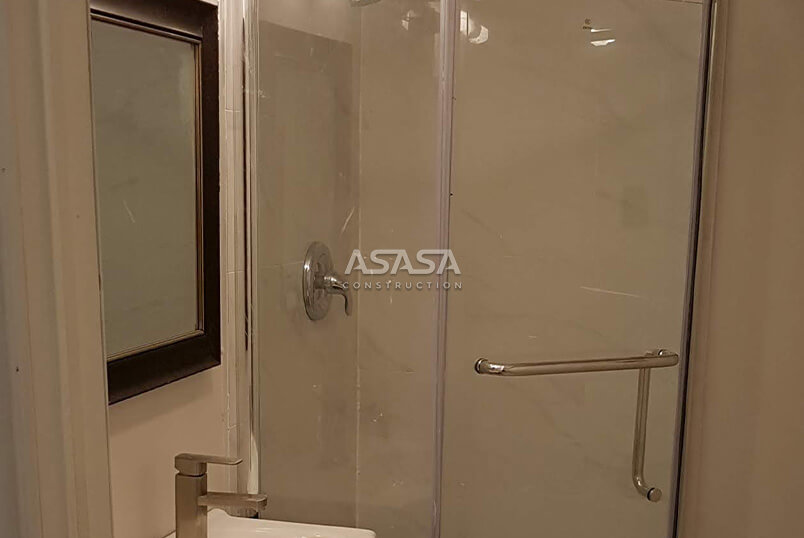
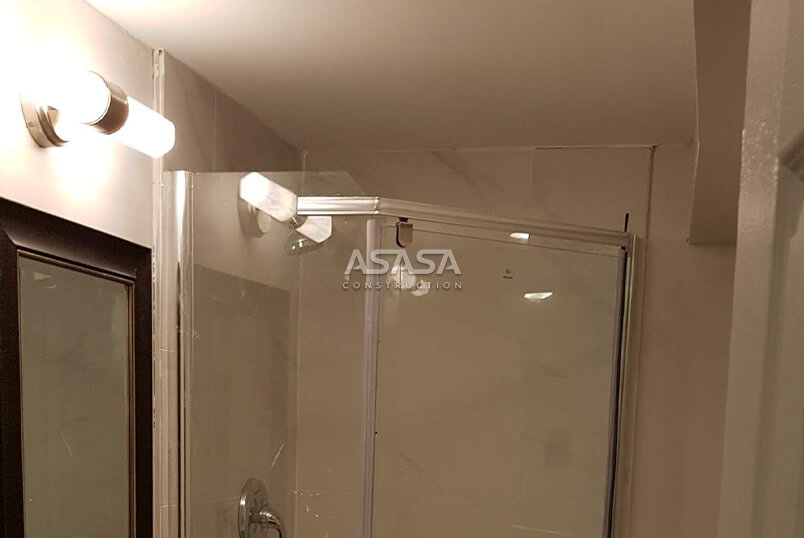
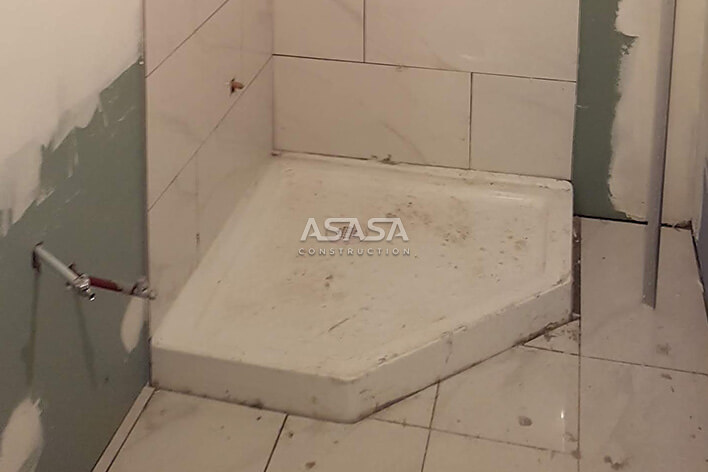
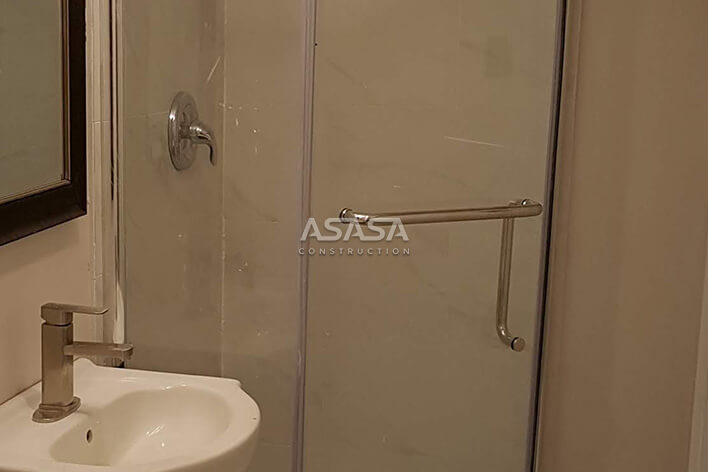
The first task was to install a shower, so we examined the site thoroughly. That's how the storm looked when we took over the project. As the client wasn't happy with the tiles on the wall, we started by revamping the tiles. We adjusted the interlocking of different pieces which had gaps between them. After doing interlocking properly, we sealed the joints for an effective waterproofing of the walls. ASASA Construction offers a wide range of services under one roof to provide a hassle-free service to its customers. Once the team was done with waterproofing, they installed shower spray and tap efficiently. We provided finishing service for the floor to enhance its appearance. The client wanted to install a glass door in the shower, so we offered a variety of designs. After the client finalized one, we installed it and checked its working to confirm that it was done right.
Before
 After
After
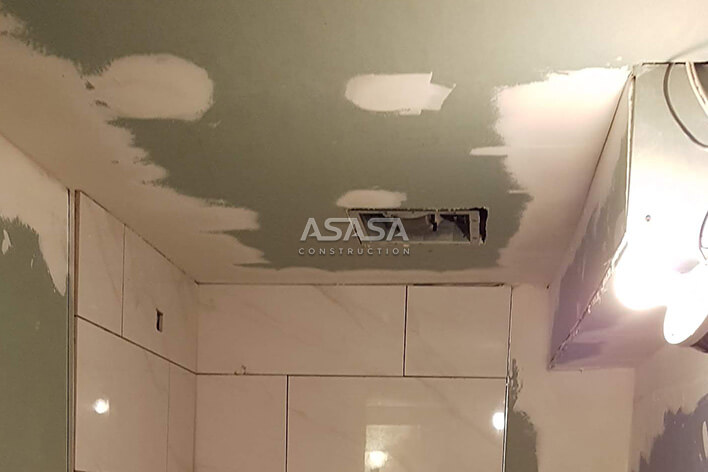
The next step was to finish the outer walls of the shower, so our professionals inspected the state of the wall and ceiling. We applied the compound to the damaged areas to even out the surface for painting. We opted for white paint on the walls and ceiling to give it a spacious look. Our professionals applied the most efficient painting service with even coats and proper detailing and finishing to boost the face of the walls. Our electrician also installed lights on the ceiling and the walls.
Before
 After
After
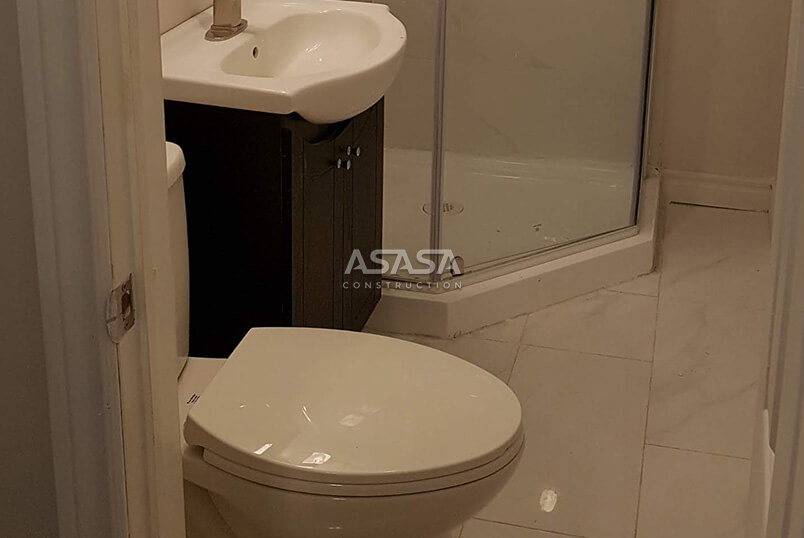
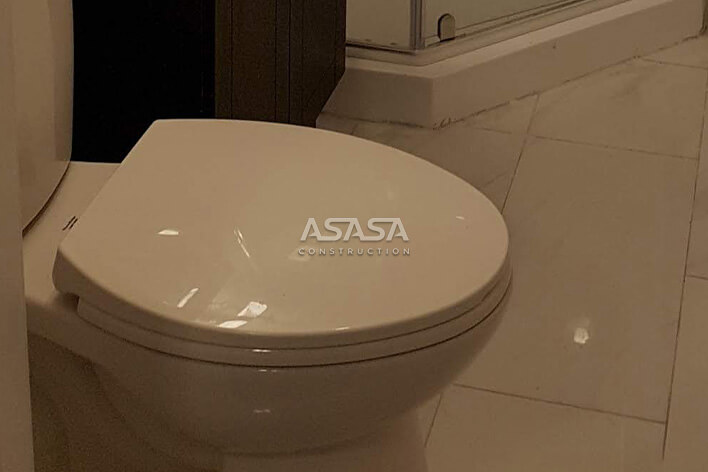
The next task in the project was the installation of a sink, vanity, mirror, and commode. We started by installing a commode, and our plumbers did the most efficient job and ensured no flaws in the water connection or drainage. Then came the turn of the sink and vanity installation. As the client wanted a white sink and wooden vanity, we presented a wide range of specified options. A classic wooden vanity was chosen with two sections and doors. We installed the vanity, sink, and tap effectively and checked if everything was running correctly.
Before
 After
After

Copyright© 2025 ASASA Construction - Developed by NetMaticO Digital Marketing Agency
