
ASASA Construction is honored to present to you our latest kitchen renovation and basement finishing project in Mississauga. We were pretty excited to ace this project, and our Team was up for another adventure and geared up to enter the war zone. We started with the kitchen renovation. The moment we saw this kitchen, we knew that it required something different to complement it, and we were completely prepared to turn it into something functional and budget-friendly. The owners had a limited budget, so we shopped for the most economical but sleek products.
We are here to show you some of our best kitchen renovation and basement finishing projects. You can see our best commercial renovation projects before and after pictures below.
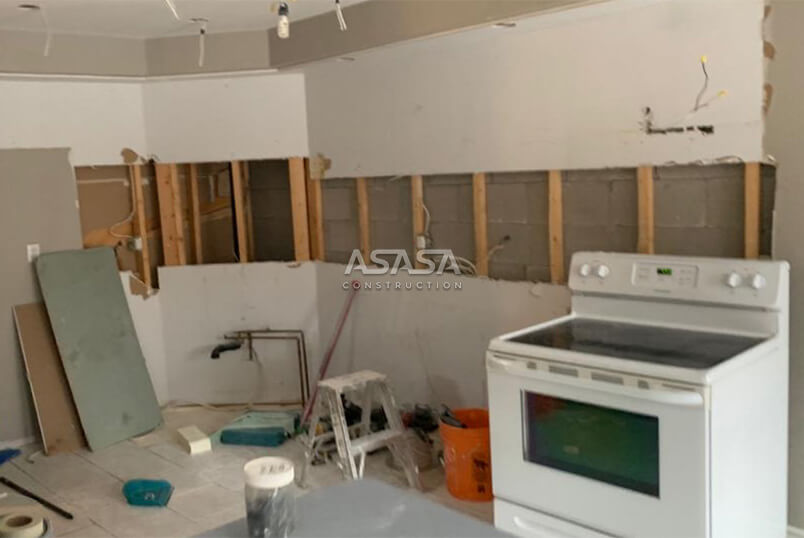
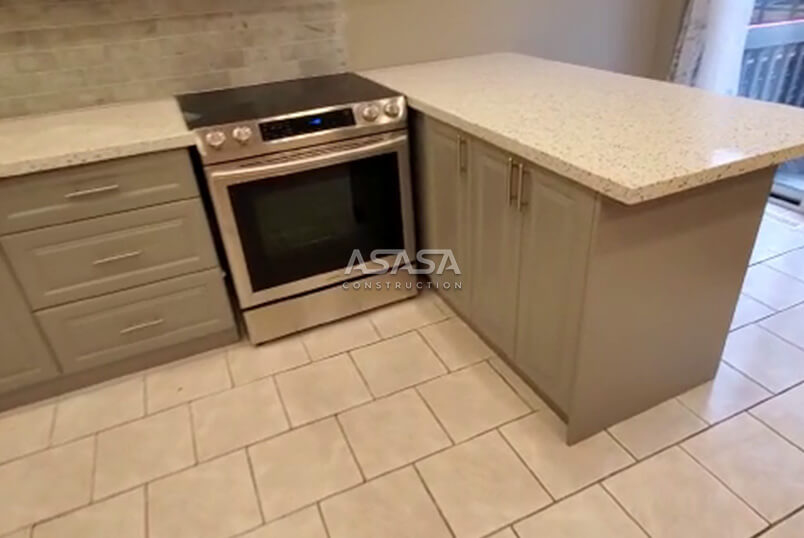
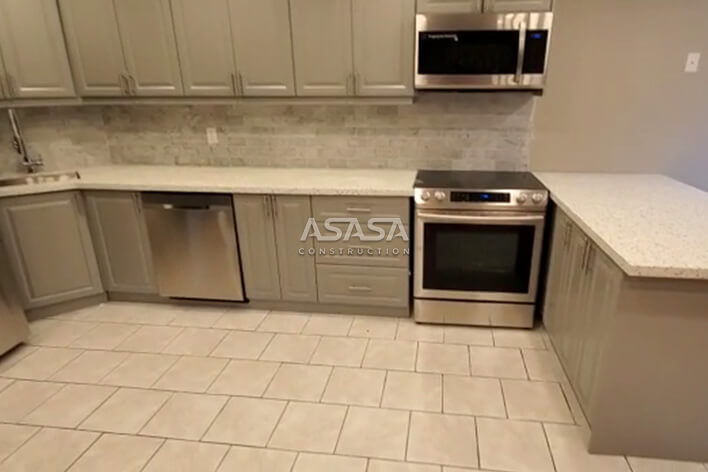
Our carpenters showed the best of their skills and successfully pulled off all the old cabinets without damaging the walls behind them. We safely removed all the old pot lights to replace the wiring and install new units. The homeowners were an old couple who were into the traditional classical look. We decided to choose a grey kitchen with a granite countertop to top it off. After some talk with the client, they insisted on custom kitchen cabinets. We wanted the cabinets to be precisely fitted and aligned.
 Before
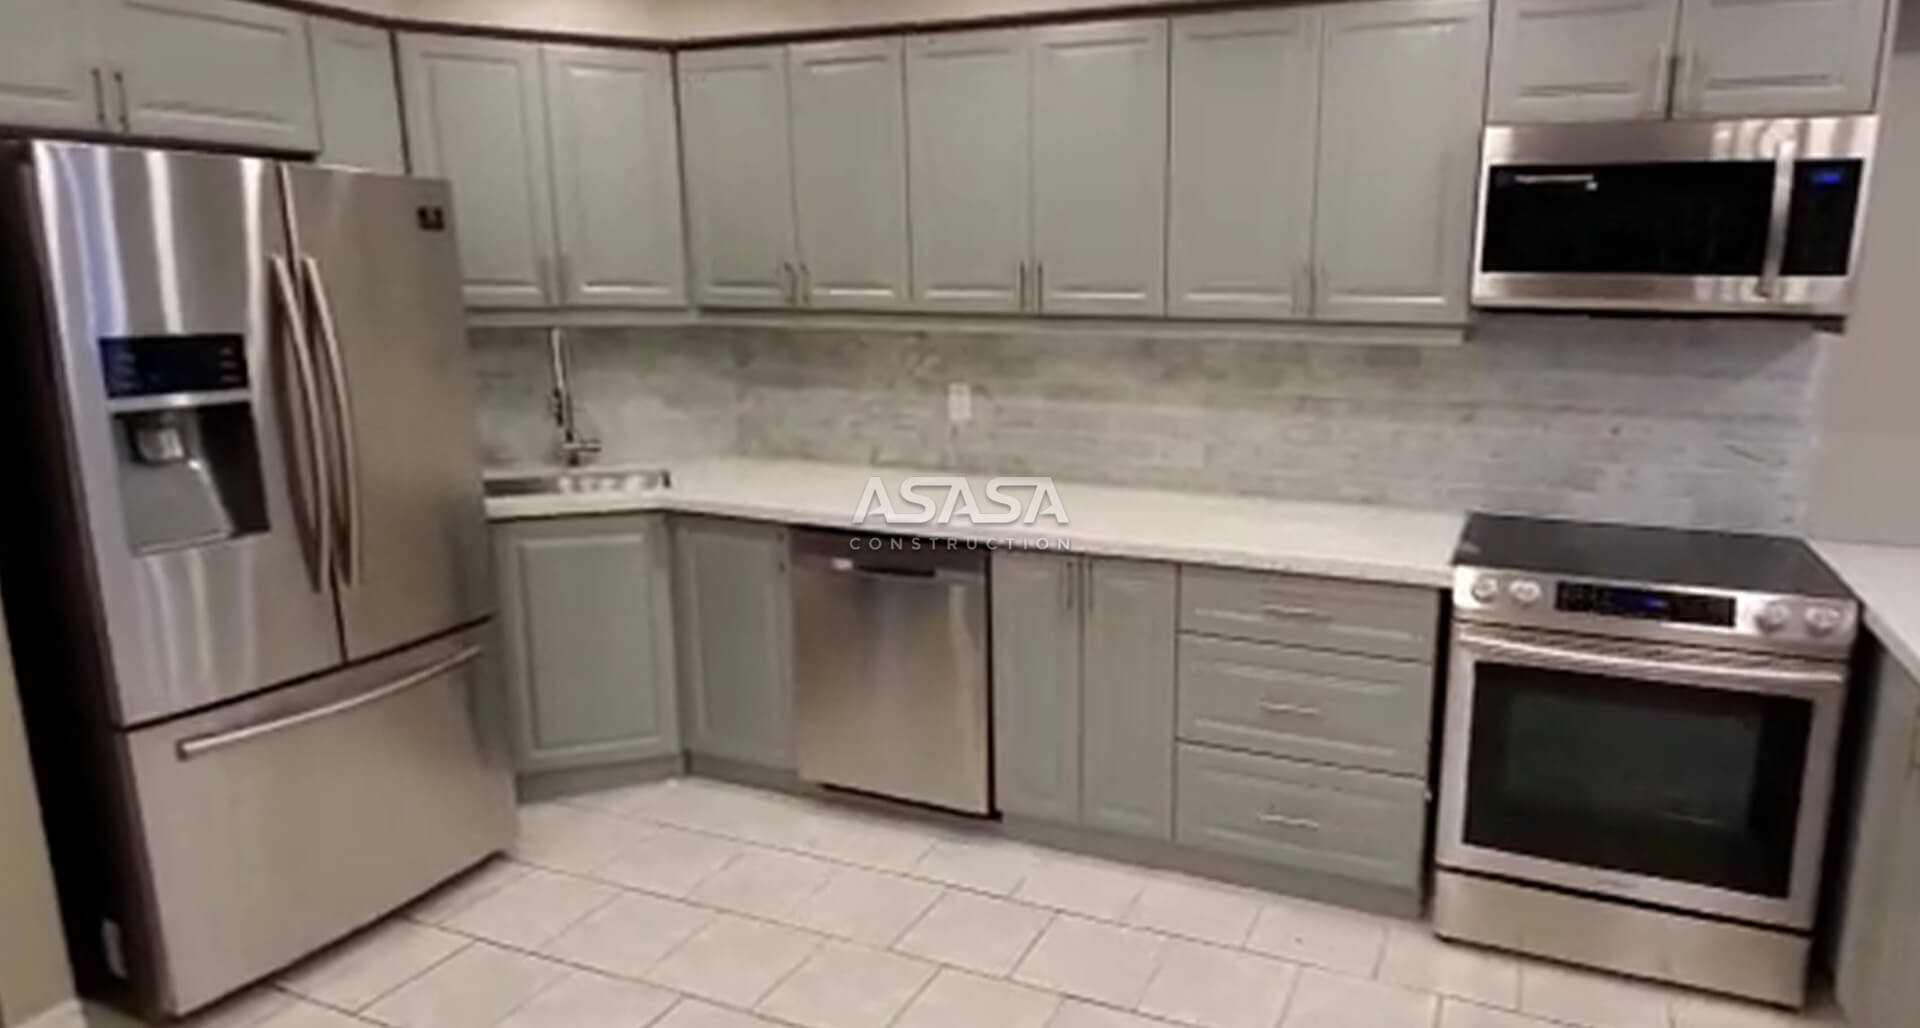
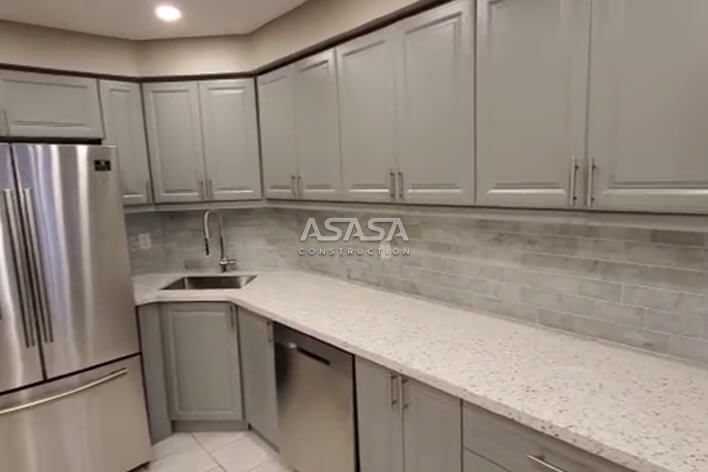
 After
After
Now it was time for plumbing. We had to redo all the plumbing because we had to move the sink away from the old place. The owners wanted the sink to be somewhere in the corner. Now it was time to place the new stove and the microwave oven. As the stove was electric, it required a socket. We had to do all the rewiring and make a connection, and we had to rewire. We had to ensure that the wiring was safe and not short circuit. Our experts did a perfect job during the installation process. The owners were with us through the whole process and expressed excitement after they saw the cabinets. The smile on their face was our trophy to success. Our Team stayed highly motivated throughout the entire project and tackled everything professionally.
Before
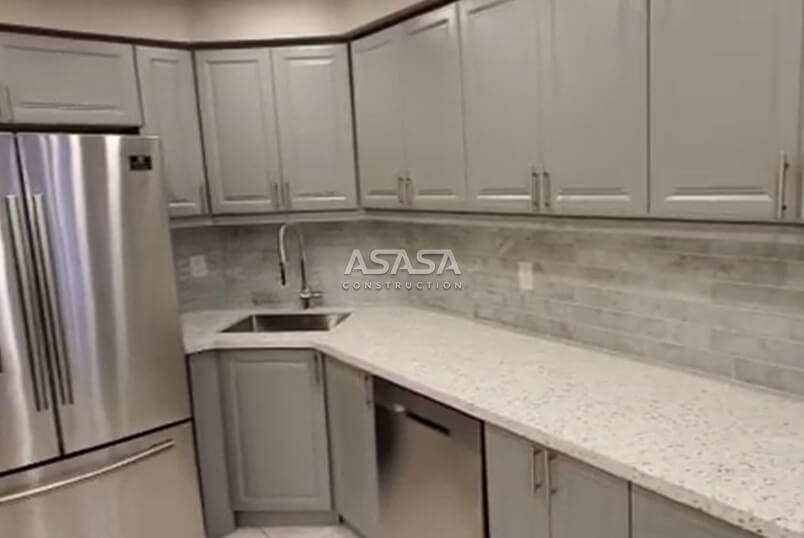 After
After
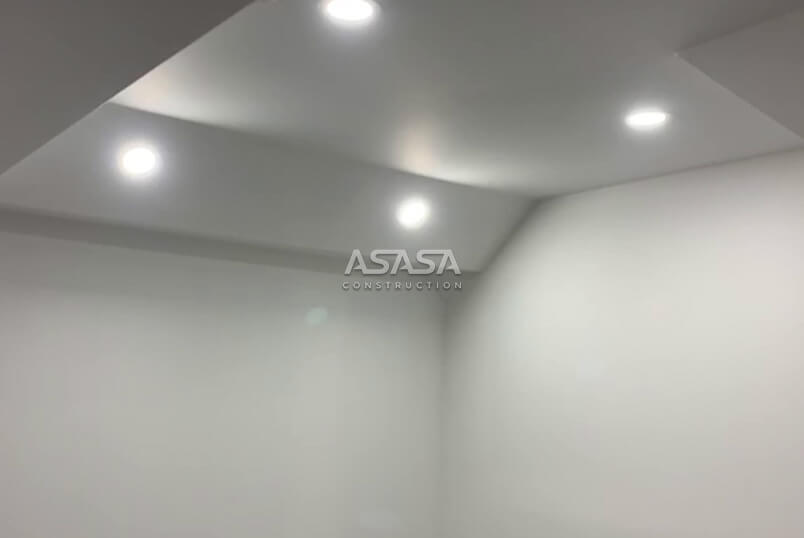
The electricians sleekly installed the pot lights and redid the wiring, ensuring that the pot lights worked properly. Pot lights prove to be energy efficient, provide sufficient light, and are usually pocket-friendly. Kitchen renovation contractors in Mississauga strongly believe that efficient lighting plays a vital role in displaying your kitchen. Again we wanted the lighting to be economical and electric friendly, so we went for the pot lights. We redid the wiring, making sure that there were no short circuits.
Before
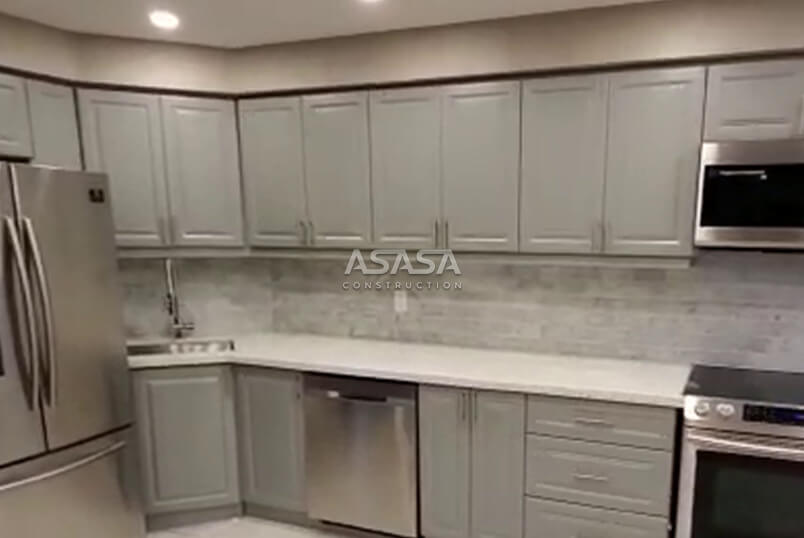 After
After
Now it was time to go all ninjas on the kitchen floor. Our experts made sure that they were slow and steady when removing the old tiles to assure the safety of the lower floor. Once the tiles were finally peeled off, we moved further and started to add grout and place the new tiles one by one. Finally, the kitchen floor tile installation was completed, and now it was time to wait for the grout to dry. The white tiles were an on-spot match with grey cabinets, backsplash, and appliances. Once we finally completed the kitchen, we took the clients for a final review. It turned out that the clients were baffled by the design and the color scheme we tried to incorporate. They were overwhelmed by our professionalism and how we catered to the whole kitchen in a time-saving manner. Our Team’s skill set for kitchen renovation and basement finishing was an outclass match.
Before
 After
After
The gutting process is dirty and dusty and can cause damage to any item that remains in the basement. We emptied the basement before beginning to gut it. We Pry off trim, quarter-round, and other moldings on the bottoms and tops of the walls with a meddle bar if you plan to keep the walls intact. If you’re going to tear out the basement’s walls, do not remove the trim and molding separately. The holes were knocked in the drywall using a hammer or sledgehammer. Next, we pried individual sheets off the drywall away from studs. We used the utility knife simultaneously to cut stubborn areas of the drywall and then removed the old tiles. With the help of a scraper, we carefully fire each tile, making sure the sub-floor does not get damaged. Our Team assured us that the sub-floor was leveled.
Before
 After
After
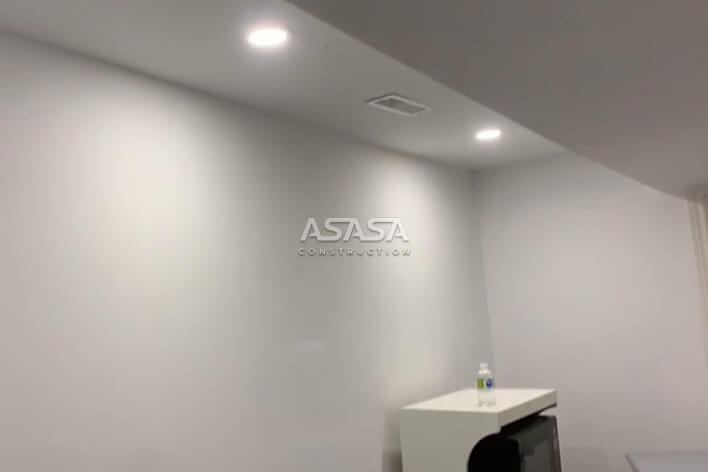
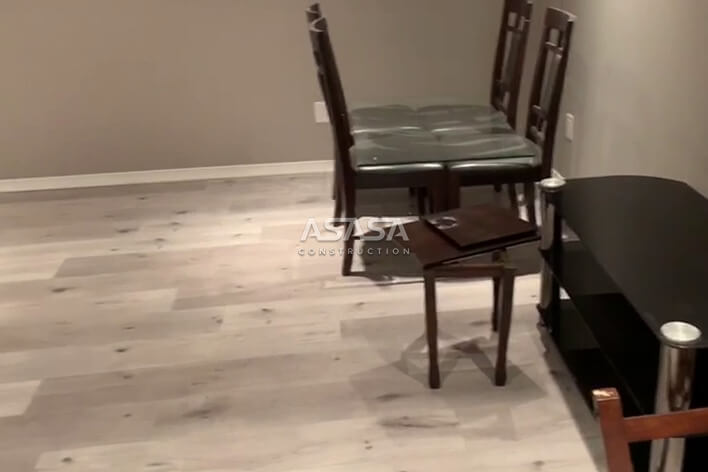
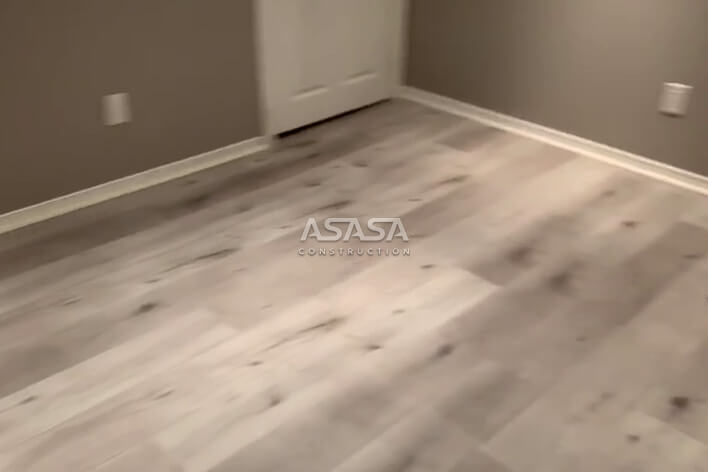
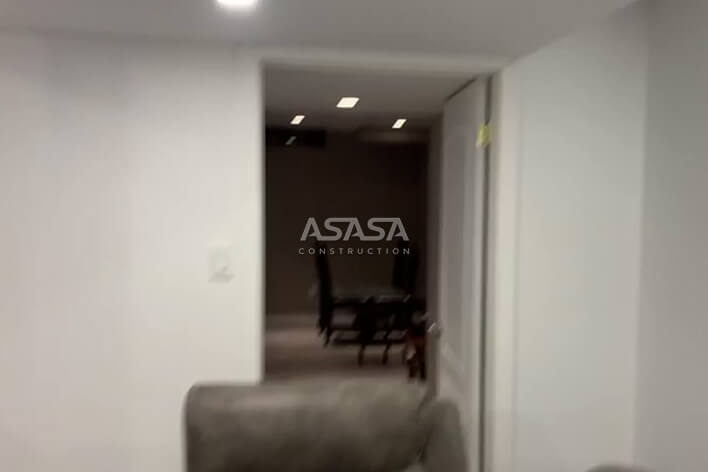
After the complete gut of the basement, the first task was to paint the walls. We decided to go with lighter tones to complement the wooden flooring, and our best choice was golden brown. After some consultation from the clients, we were good to go. Our professionals painted the first quote and left it to dry. Now it was time for the ceiling. We removed all the old fixtures and the previous crown moldings and applied the new ones while ensuring they were correctly fitted. Then the crew painted the ceiling, assuring that the color got enough time to dry out.
Before
 After
After
Copyright© 2025 ASASA Construction - Developed by NetMaticO Digital Marketing Agency
