

ASASA Construction is a highly reliable Licensed and Insured General Contractor based in GTA when it comes to home renovation. We have been providing the best residential and commercial remodeling and renovation services to clients all over GTA. Recently one of the regular clients from the warden contacted us to renovate his entire house. In this Project Description, we will give you an insight into the development of the home renovation project. First of all, our team visited the location to gather requirements from the client. The site was examined thoroughly to explore all the available options and possibilities. All the needs of the client were noted down. Our professionals gave a FREE consultation to the client on all the matters he was perplexed about and presented the most suitable recommendations. We also offered different samples of products and materials to be used in this home renovation project. The client was delighted to get quality material at reasonable rates.
We are here to show you some of our best home renovation projects. You can see our best commercial renovation projects before and after pictures below.
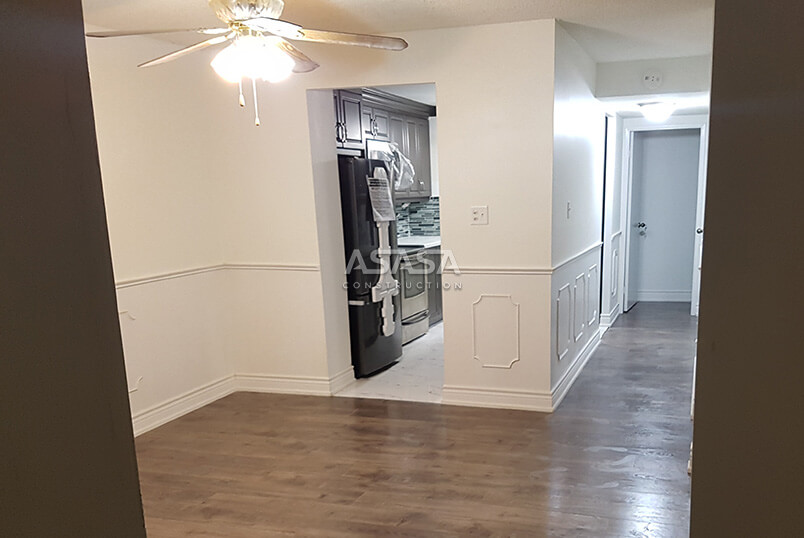
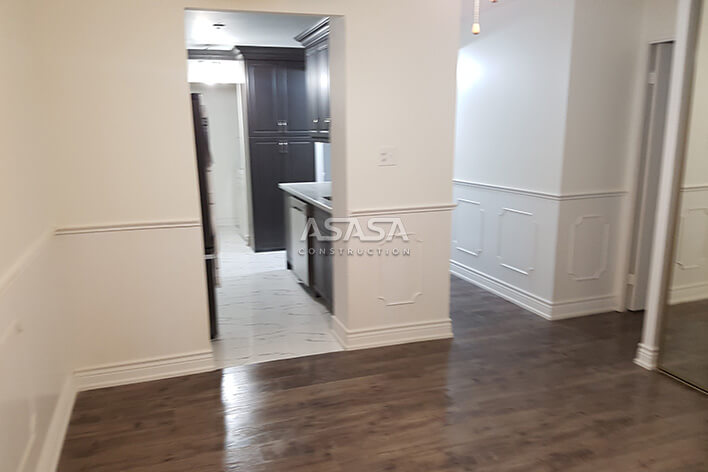
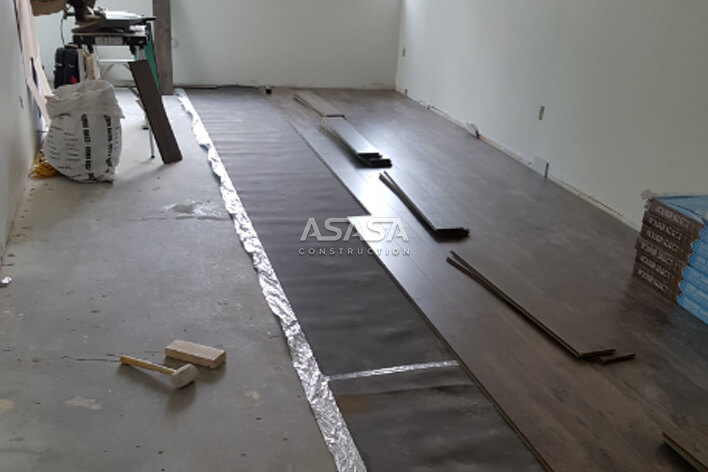
Our team selected laminate flooring for the entire house after the client's approval. Firstly, we had to remove the floor tiles by using cutters. Our professionals were very cautious while cutting the tiles and grout to prevent any damage to the sub-floor. After removing the tiles effectively, we checked the sub-floor leveling, and the readings were not satisfactory. So, we applied the compound to prepare the sub-floor for lamination. We gave ample time for the mixture to dry completely and then started laying underlayment. Then we started placing the laminate boards. We cut the panels according to requirements using a saw cutter to ensure that all the pieces settle nicely. To cover the gaps between laminate boards and walls, we installed suitably sized trims so that the layout looks flawless.
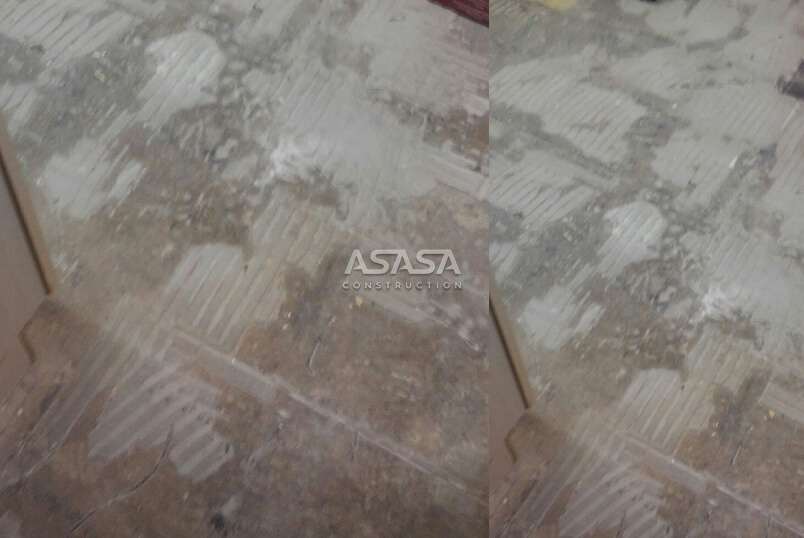 Before
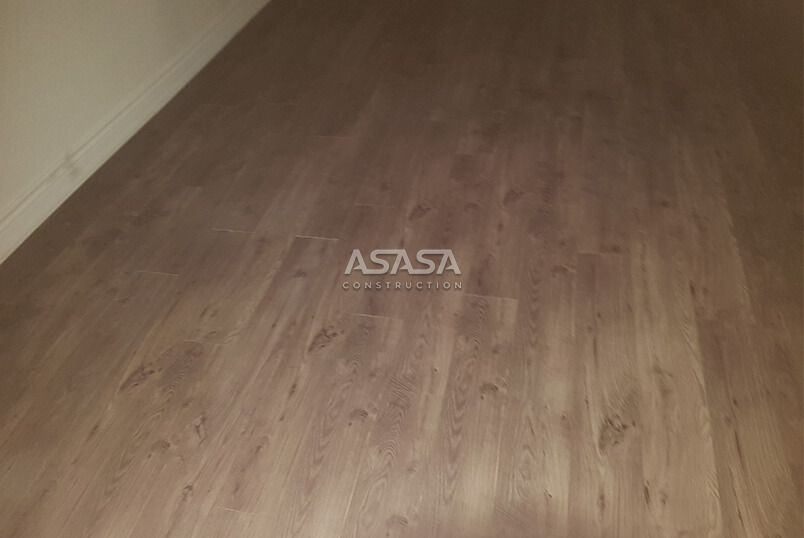 After
After
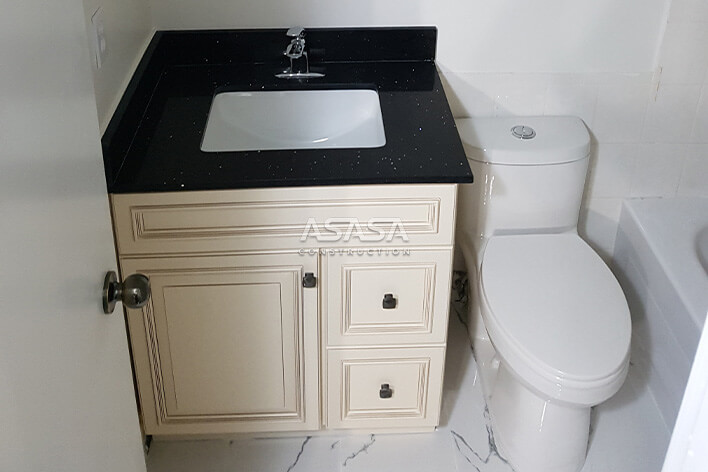
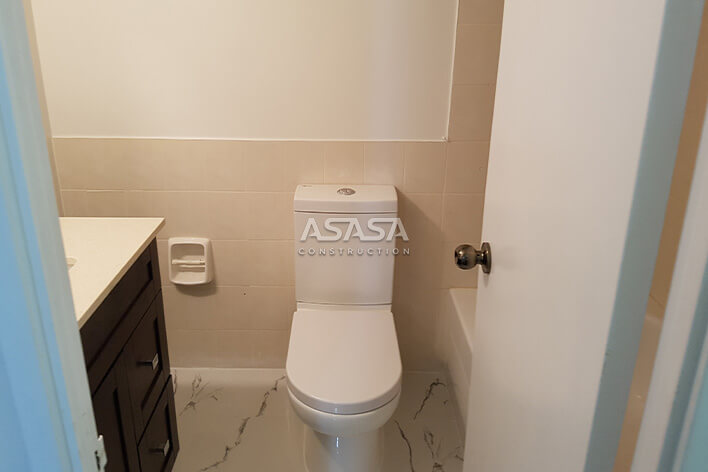
The Ground Floor Bathroom had to be restructured as adding a bathtub in place of the standing shower needed an opening of space. After the demolition of the standing shower, we also took down the wall next to it to create more room for bathtub installation. We examined the surface of the wall and applied compounds for leveling. When the mixture dried, we rechecked the leveling and, after confirmation, proceeded further. We installed tiles on the bathtub walls and filled gaps with an appropriate quantity of grout. The mortar that we applied was also a balanced inconsistency to give better adhesion. We came up with the idea of installing a shower along with a bathtub, and the client loved it, so we did so. Waterproofing and sealing were done efficiently. Our plumbers checked all the connections to ensure that everything was working fine.
 Before
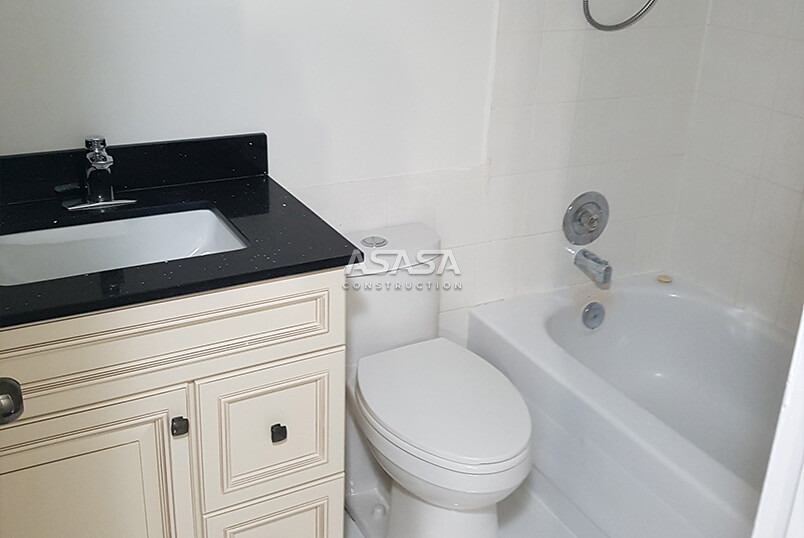 After
After
The condition of the walls was not so good as there were seepage and dings all over. So, we scraped off the peeling paint from the walls and ceiling first. Then we applied fillers on the chimes to even out the surface. The primer was applied to the wall to get a durable paint job, and then we painted the walls. After painting the walls, we installed wall tiles. Finally, we sealed the tiles and the grout with a sealer.
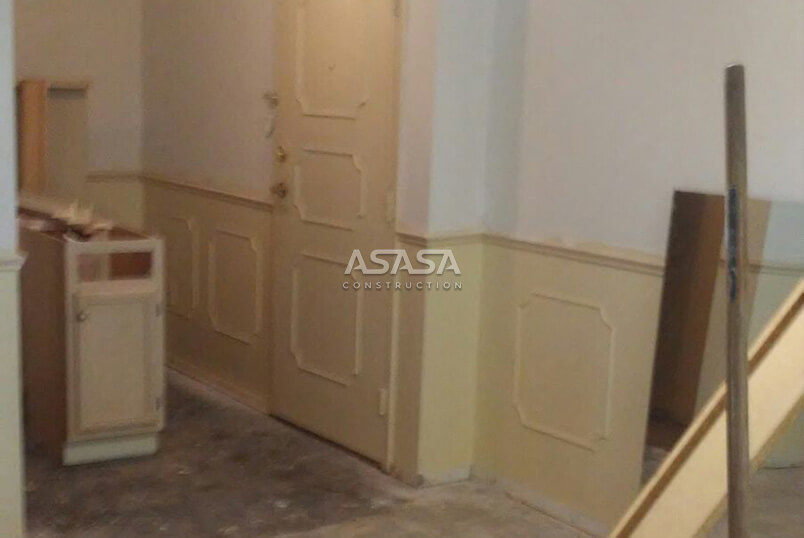 Before
 After
After
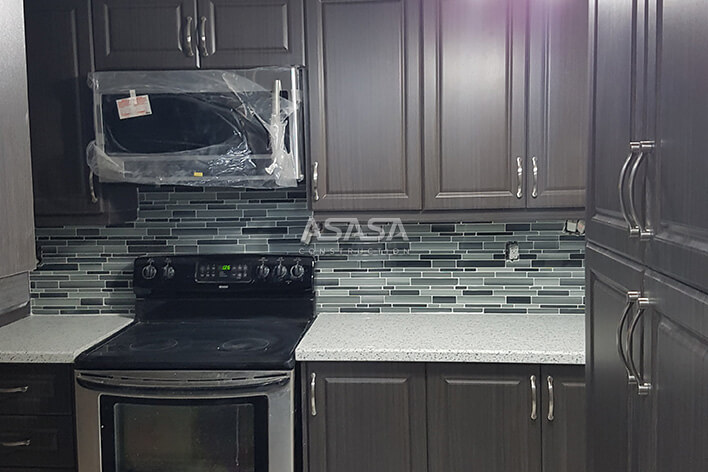
We did extensive preplanning before starting the kitchen renovation. Our professionals begin by demolishing the whole kitchen carefully without damaging the walls and floor. After destroying the kitchen, we examined the condition of the bed and barriers in detail. We applied compound on the border parts with dings to level the surface. After the mixture dried, we used paint. We also installed wall trims to enhance the appearance. For floor tiling, we prepared the sub-floor by leveling it first and then installing tiles. Our workers also finished the kitchen door.
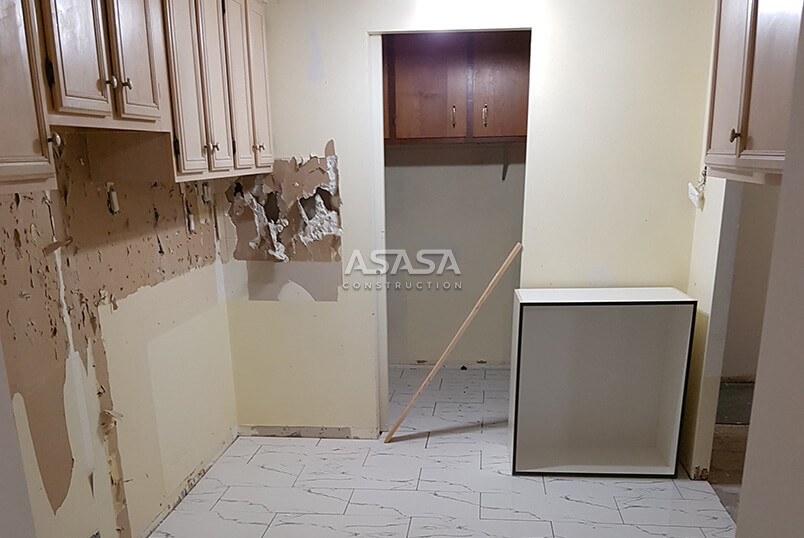 Before
 After
After
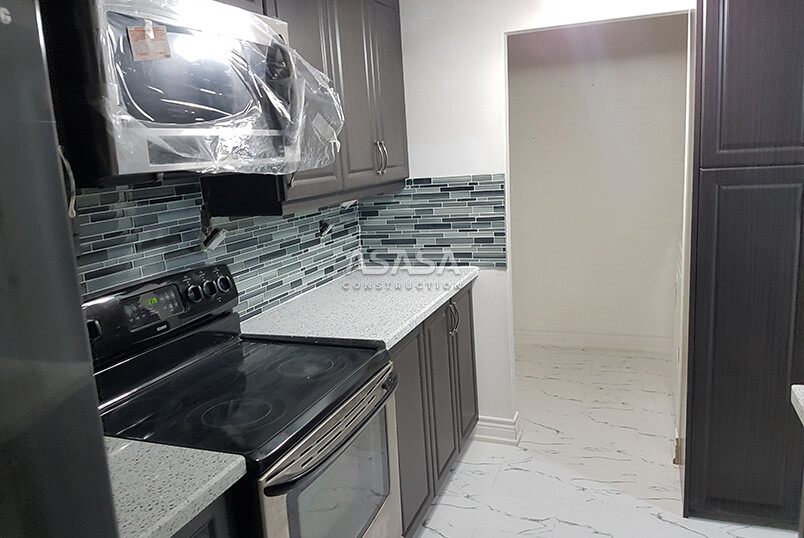
The following steps were the installation of a kitchen cabinet and cupboards. We chose a wooden design for the cabinet to complement the house's ambiance. A broad quartz countertop was selected to give more space for cooking. To provide more storage space, we also installed standing cupboards and over cabinet cupboards. We also installed a backsplash to generate more harmony among different elements.
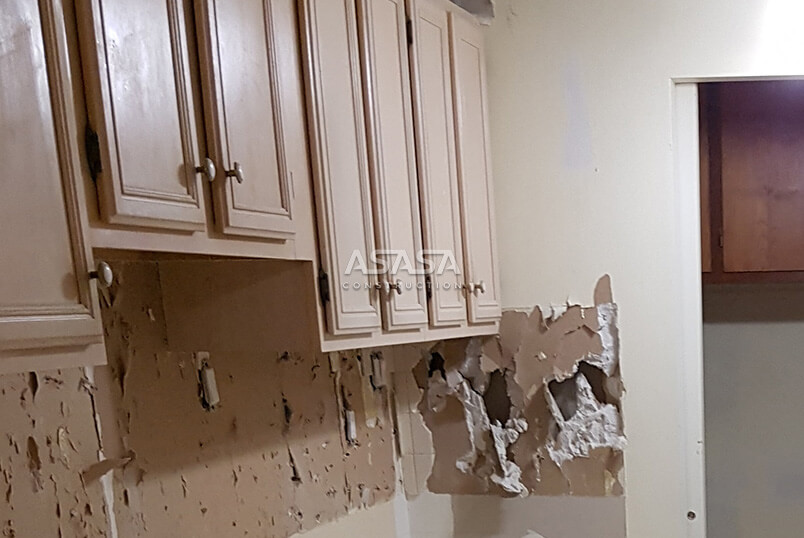 Before
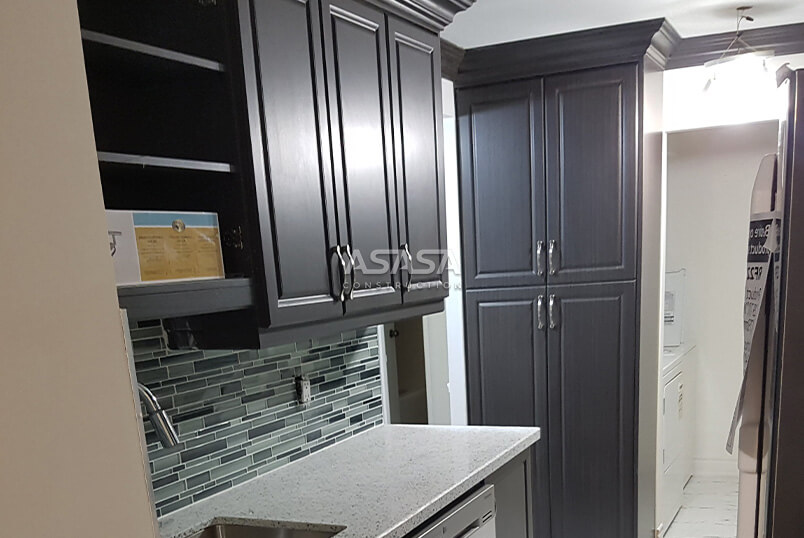 After
After
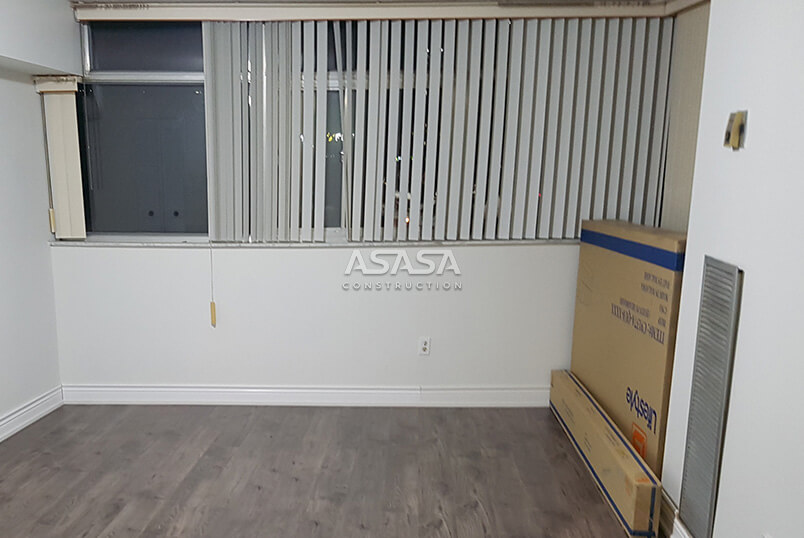
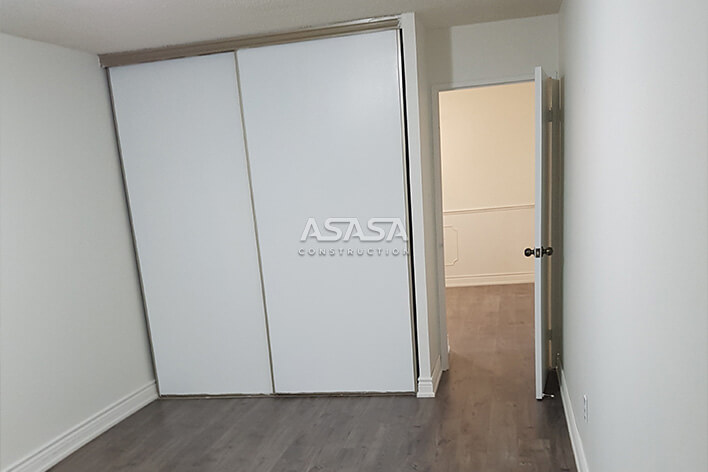
We had to renovate three bedrooms in this home renovation project. We checked the leveling of the sub-floors and walls first. Then a leveling compound was applied to get a smooth surface. We installed laminate floors after preparing the sub-floor properly. We scratched off the peeling paint first for walls, used compounds on all the affected areas, and then painted the walls effectively to give the room a nice, appealing appearance. We also finished the cupboards, windows, and doors with detailing.
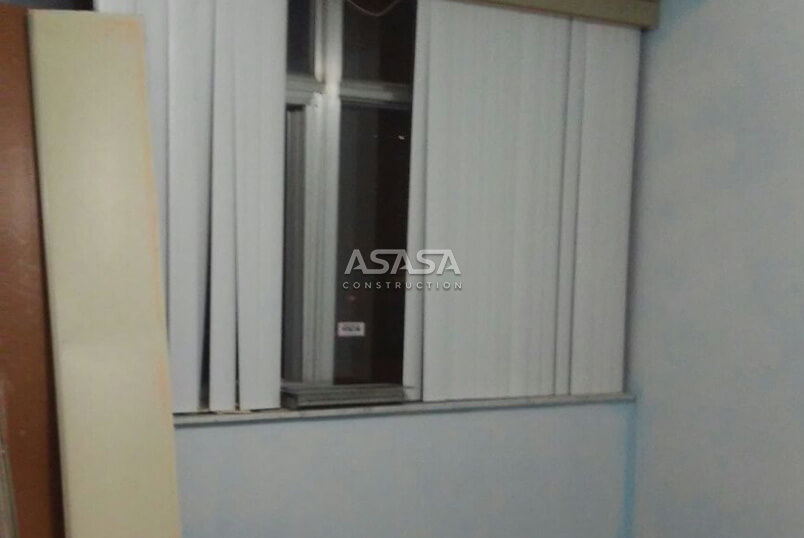 Before
 After
After
Copyright© 2025 ASASA Construction - Developed by NetMaticO Digital Marketing Agency
