"DIY Basement Finishing in Toronto 2025"
- 2024-12-18 21:57:09 / Home Additions , Home improvement , Basement , Basement design & finishing , Basement Design and Finish , Basement Renovation , Basement Waterproofing ,
DIY Basement Finishing in Toronto-How to Transform Your Basement
Introduction: Unlocking the Potential of Your Unfinished Basement
Are you sitting on a goldmine of space that simply needs some attention? A basement renovation can be one of the most rewarding home improvement projects you undertake. Not only does it increase the overall square footage of your home, but it also adds functional living space, which is particularly valuable in a city like Toronto where every square foot counts. Whether you envision a cozy family room, a vibrant play area for kids, or a stylish guest suite, the possibilities are endless with a basement.

However, embarking on a renovation journey requires thoughtful planning and a solid understanding of the processes involved. This comprehensive guide aims to provide you with all the necessary knowledge, tips, and best practices for successfully executing a basement finishing project. Let’s dive in and explore step by step how to turn that unfinished basement into your dream space.
Step 1: Assessing Your Current Basement Space
Understanding the Basics of Your Basement
Before you jump into the fun design phase, it's crucial to evaluate your existing basement layout. You'll want to note key features such as:
• Height and Space: Make sure the ceiling height meets local building codes and is comfortable for usage.
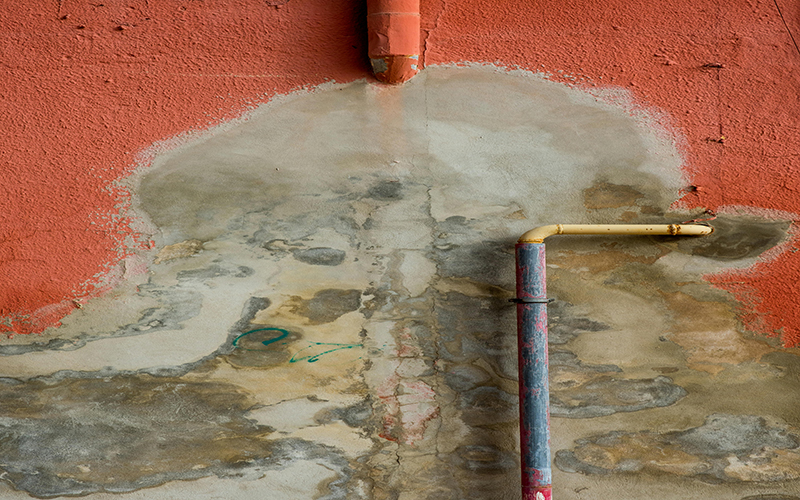
• Drainage and Moisture Levels: Look for signs of dampness, mold, or water stains on walls and floors.
• Structural Elements: Identify load-bearing walls, support beams, and flooring structure.
• Existing Utilities: Locate electrical boxes, heating systems, and plumbing lines.
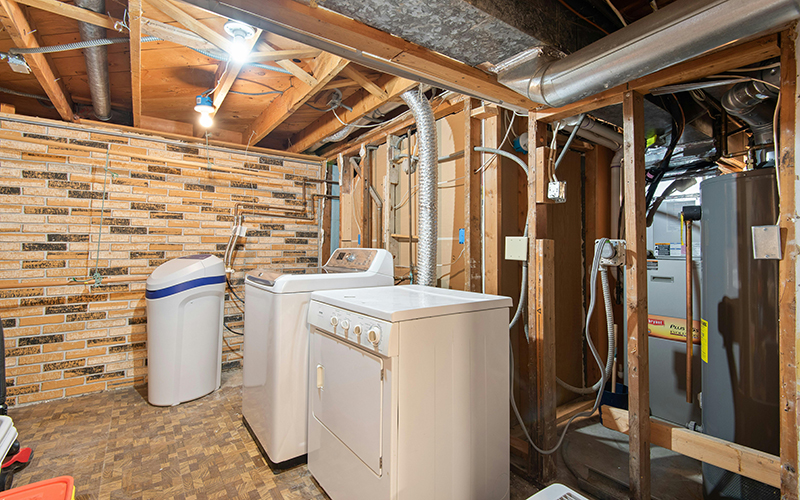
Doing this groundwork helps ensure the project is viable and safe. You can also consider hiring a basement renovation company in Toronto to conduct an assessment if you feel uncertain about your observations.
Planning for Use: What Will the Space Become?
Once you have a good grasp of your existing space, think about how you want to use it long term. Consider current family needs as well as potential future uses, such as:
• Guest Suite: An ideal spot for friends and family who visit from out of town.
• Home Office or Study: A quiet area that provides focus without distractions.
• Game Room or Entertainment Hub: Perfect for movie nights and gatherings.
• Rental Unit: An excellent way to generate extra income.
Discussing your intended use with family members can guide your decisions. Knowing the purpose of your new basement will pave the way for more effective planning and execution.
Step 2: Moisture Control and Repair
Identifying and Addressing Moisture Issues
Before proceeding with your basement renovation, you’ll want to make moisture control a priority. Water ingress can lead to substantial issues down the road, including mold growth, structural damage, and compromised air quality. Here are steps to manage moisture effectively:
1. Conduct a Thorough Inspection: Post-rain, observe water pooling, unusual damp smells, or seeping walls.
2. Repair Any Cracks: Use masonry sealant to patch up any visible cracks in walls and the floor.
3. Install Proper Drainage Systems: Consider putting in a drain tile system or a sump pump to manage groundwater.
4. Utilize Dehumidifiers: A dehumidifier can help maintain proper humidity levels, especially in more humid months.
Addressing moisture issues should be a priority before you move on to insulation or drywall installation. After successfully managing moisture, your foundation will be better prepared for the renovations.
Step 3: Proper Insulation Choices
Why Insulation Matters
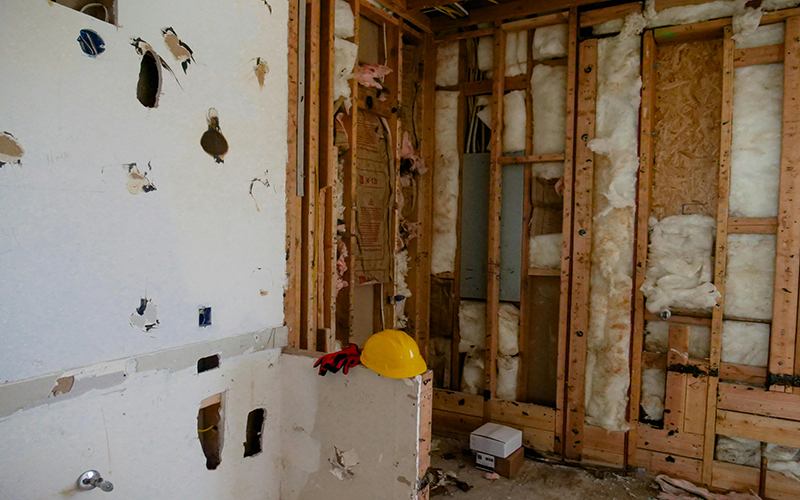
The importance of insulation cannot be overstated. It ensures the basement remains a comfortable temperature and helps control energy costs. Moreover, it can assist in managing moisture levels as well. Here’s a deep dive into your insulation options:
• Rigid Foam Board: Exceptional for temperature regulation and moisture resistance; perfect for basement walls.
• Fiberglass Batts: Traditional choice but requires a vapor barrier to resist moisture.
Choosing the right insulation will not only increase your comfort but also extend the life of your renovation. Consult with a local contractor to identify the best options tailored to the unique conditions of your basement.
Installation Techniques for Insulation
Once you've selected your insulation material, proper installation is vital. Start by sealing any gaps and cracks in the HVAC ducts. Then, systematically install insulation, ensuring it fits snugly against walls and ceiling joists. Remember that effective sealing prevents drafts and maintains a stable temperature.
Step 4: Framing Your Walls
Framing Basics
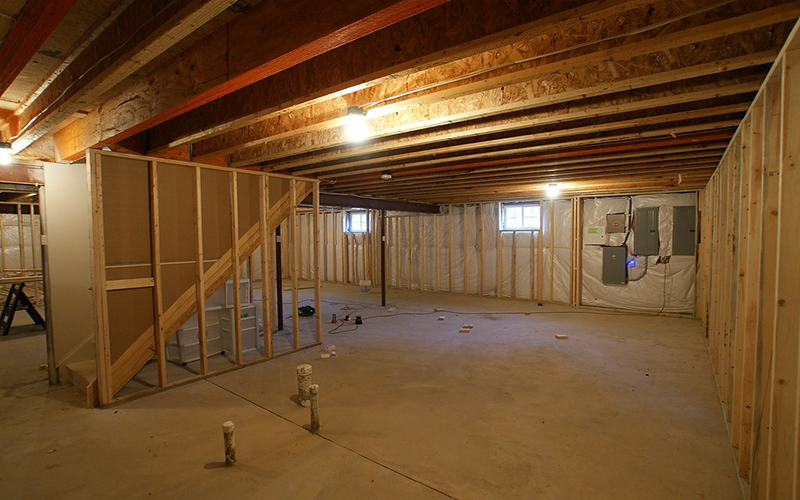
Once you’ve handled moisture and insulation, you can start framing your basement walls. Framing outlines the areas where the walls will be placed while providing the basis for drywall installation. Here's how to get it right:
1. Choose Treated Lumber: This is essential because it is resistant to moisture and helps prevent mold growth.
2. Measure and Mark: Use a level to mark the layout on the floor and ceiling, ensuring precise measurements.
3. Vertical and Horizontal Layout: Create a frame by securing vertical studs to the floor and connecting them to the top plate.
This step requires precision, as it sets the groundwork for everything that follows. Careful framing ensures structural integrity and aesthetic success. After framing, you will be ready to hang drywall! 
Step 5: Selecting the Right Drywall
Why Drywall Is Important in Basements
After framing, it’s time to install drywall. This is where you can turn your unfinished space into a finished one, giving it a polished appearance. For basements, consider using moisture-resistant drywall (often called green board) to reduce the risk of mold and wood rot. Here are some helpful tips:
• Use 5/8-inch Thick Drywall: This provides better fire resistance and noise control.
• Pre-cut Your Sheets: Cut drywall before lifting it to the ceiling to save time and effort.
• Install in a Staggered Pattern: This strengthens structural integrity and reduces the chance of seams cracking over time.
Drywall installation can be labor-intensive but is manageable with careful planning. Once your drywall is in, the excitement of finishing touches begins to build!
Step 6: Electrical and Plumbing Considerations
Planning for Electrical Needs
Powering up your new space will require a well-thought-out electrical plan. Consider these points:
• Hire a Licensed Electrician: Always consult a licensed electrician, especially if installing new wiring.
• Incorporate Ample Outlets: Plan outlet placement for TVs, lamps, and electronics, ensuring convenience.
• Consider Lighting Types: Pendant lights, recessed lighting, and sconces can all enhance the aesthetics.
If you're planning to rent out the space later, ensure that the electrical setup complies with all local building codes to avoid complications.
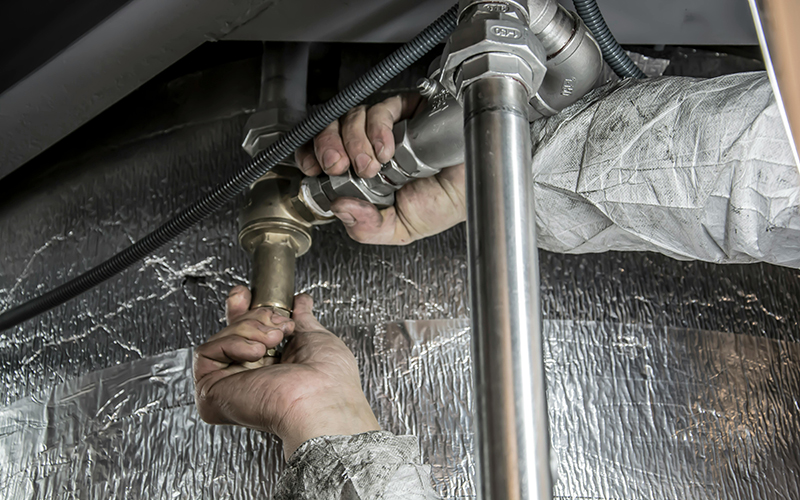
Plumbing Installations for Full Use
If your basement will include a bathroom or kitchenette, plumbing becomes critical. Calculate your plumbing needs and implement solutions such as:
• Rough-In Plumbing: Having proper plumbing lines laid out for future sinks, toilets, and showers.
• Permits and Inspections: Be sure to obtain the necessary permits and undergo inspections throughout the plumbing installation process.
Engaging a professional for plumbing helps prevent leaks and ensures that all installations are code-compliant. A cautious choice now saves hassle later.
Step 7: Choosing the Best Flooring for Basements
Flooring Options for Your Basement
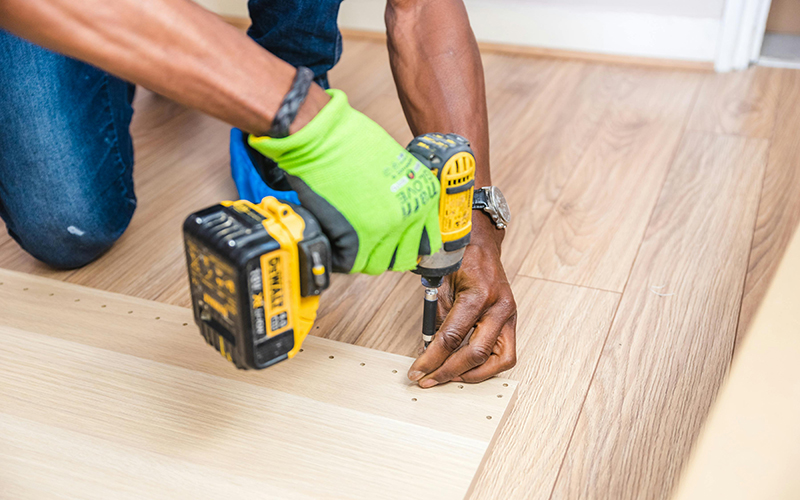
Choosing the right flooring is essential as basements are often prone to moisture. Here are some flooring options you might consider:
• Vinyl Plank Flooring: Water-resistant and easy to clean, this material mimics wood while providing durability.
• Laminate Flooring: Offers a broader range of styles with moisture-resistant variants available.
• Carpeting: Ideal for comfort, provide that cozy feel. Ensure you use moisture-resistant padding underneath.
Always factor in the specific conditions of your basement when making your decision. Choosing the right flooring materials adds both beauty and functionality to your newly finished space.
Prepare the Subfloor
Preparation of the subfloor is vital before laying any materials. Make sure the surface is clean and free of debris, and repair any cracks to support the flooring. These measures will enhance the lifespan of your chosen flooring option.

Step 8: Final Touches and Walls Finishing
Painting and Finishing Walls
Now comes the fun part: decorating and painting! Select colors that create a spacious feeling, such as light neutrals or soft pastels.
1. Priming the Walls: Start with a coat of primer before applying your chosen color. Primer helps the paint adhere better and avoids unnecessary wear.
2. Use Quality Paint: Opt for high-quality, washable paints designed for durability and easy cleaning.
Creating a comfortable atmosphere allows you to enjoy the space fully. After painting, consider adding trim and moldings to complete the polished look.
Adding Personal Touches
Don’t forget to incorporate personal elements! Choose décor items, artwork, and furniture that represent your style. Not only does this make the space unique, but it also ensures that it feels like an integral part of your home.
Step 9: Ventilation and Climate Control
Importance of Ventilation
Effective ventilation is crucial for maintaining airflow and reducing humidity levels in your basement. Here are ways to ensure your finished area breathes well:
• Install Exhaust Fans: These help push stale air out and bring fresh air in.
• Utilize Ductless Air Conditioners or Heaters: These can take up minimal space while providing ideal climate control.
A well-ventilated basement not only enhances comfort but safeguards your investment from moisture issues in the future.
Step 10: Hiring Professionals for Certain Tasks
Knowing When to Call In Experts
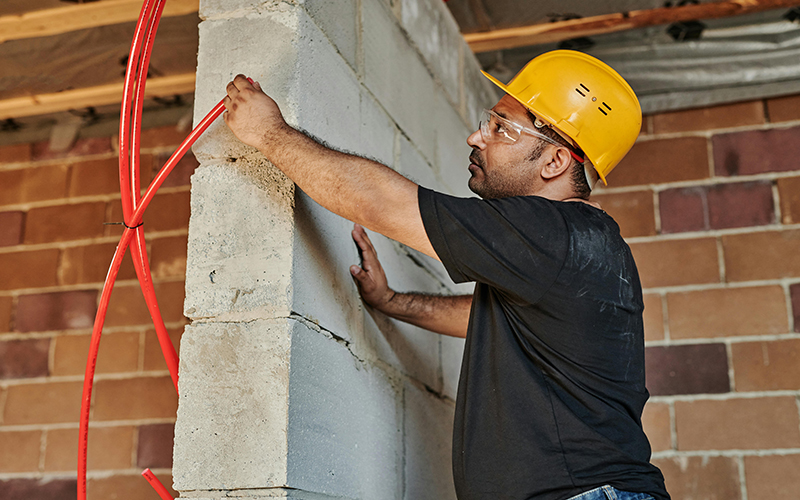
While DIY projects can be fulfilling, hiring professionals ensures quality work where it matters most. Hiring local experts like basement contractors can make a significant difference in the outcome of your renovation. These professionals can handle complicated tasks such as:
• Load-Bearing Structural Modifications
• Complex Electrical and Plumbing Layouts
• Finishing Touches with Craftsmanship
Purchasing a home improvement project might seem more expensive upfront, but leveraging professional services will provide long-term peace of mind and quality assurance.
Conclusion: Enjoy Your Transformational Space!
Your journey towards a beautifully finished basement is a commendable project that can yield numerous benefits for you and your family. From increasing your home's value to providing additional living space, the advantages are significant. By following the steps outlined above, you can ensure your renovation project is hassle-free and rewarding.
If you are ready to take the leap and transform your unfinished basement, why not connect with us today? With our expertise and experience in basement finishing in Toronto, we can make your dream a reality. Don’t wait; your perfect basement oasis is just a project away!